
Computer viruses are malicious programs designed to disrupt systems, steal sensitive information, or even render devices unusable. While antivirus software is the go-to solution for most users, there are times when using the Command Prompt (CMD) can be a powerful alternative. This article provides a step-by-step guide to removing computer viruses via CMD, complete with essential details and tips to ensure success.
What You’ll Learn
- How Command Prompt Works: Understand the role CMD plays in identifying and removing malicious files.
- Identifying Suspicious Files: Learn to spot potential threats on your system.
- Removing Viruses Manually: A clear, actionable process for deleting harmful files.
Why Use Command Prompt?
Command Prompt allows users to interact directly with the operating system, bypassing graphical user interfaces (GUIs). This can be particularly useful when viruses disable antivirus tools or system features. CMD is lightweight, built into all Windows versions, and effective for certain types of malware.
Preparation Steps
Before starting, ensure the following:
- Backup Data: Protect your critical files by backing them up to an external drive or cloud storage.
- Identify Infected Drives: Determine which drive is showing signs of infection (e.g., unusual behavior, missing files).
- Administrative Access: Open CMD with administrator privileges to execute advanced commands.
Step-by-Step Guide
1. Open Command Prompt as Administrator
- Press Windows Key + S, type “cmd” into the search bar, and right-click on Command Prompt.
- Select Run as administrator to access full privileges.
2. Navigate to the Infected Drive
- Identify the letter of the infected drive (e.g., D:).
In CMD, type the drive letter followed by a colon and press Enter:
makefile
Copy code
D:
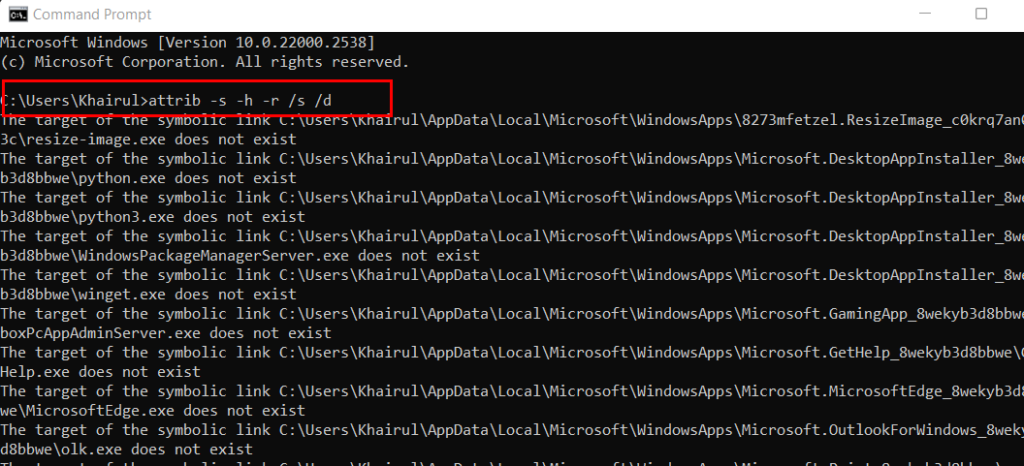
3. Display Hidden and System Files
Viruses often hide themselves using system or hidden attributes. To make all files visible:
bash
Copy code
attrib -s -h -r /s /d
This command reveals all files and folders, including hidden and system-protected ones.
4. Identify Suspicious Files
Use the following command to list all files in the directory:
bash
Copy code
dir
Look for unusual files, such as:
- Unknown .exe files
- Files with gibberish names (e.g., xKJH#?.exe)
- autorun.inf
5. Remove Suspicious Files
Delete the identified files using the del command. For example:
css
Copy code
del autorun.inf
If the file doesn’t delete, it might be running in the background. Consider booting into Safe Mode and retrying.
6. Scan and Repair the Drive
To ensure the drive is error-free and remove any lingering issues, run the Check Disk utility:
bash
Copy code
chkdsk D: /f /r /x
This command checks for errors, repairs file system issues, and recovers readable data.
Advanced Tips
Disable Autorun Functionality
Many viruses exploit the autorun feature to spread. Disabling it can enhance security:
- Press Windows Key + R, type gpedit.msc, and hit Enter.
- Navigate to Computer Configuration > Administrative Templates > Windows Components > AutoPlay Policies.
- Enable the policy Turn off AutoPlay for all drives.
Use Windows Tools
Take advantage of built-in tools like the Malicious Software Removal Tool (MSRT):
- Press Windows Key + R, type mrt, and press Enter.
- Follow the on-screen instructions to perform a full scan.
Recognize Limitations
While CMD is useful, it has limitations:
- Manual Identification Required: You must recognize malicious files yourself.
- Advanced Malware: Some viruses can hide or resist manual removal.
- Residual Files: CMD may not address registry entries or deeply embedded threats.
Data-Rich Table: CMD Commands for Virus Removal
| Command | Description | Example |
| attrib -s -h -r /s /d | Reveals hidden and system files | attrib -s -h -r |
| dir | Lists all files in the directory | dir /a |
| del filename.extension | Deletes a specific file | del autorun.inf |
| chkdsk D: /f /r /x | Repairs file system errors and bad sectors | chkdsk C: /f |
Conclusion
Removing viruses using Command Prompt is an effective method for users comfortable with command-line operations. While this approach can address basic malware infections, combining it with professional antivirus solutions ensures thorough protection. Regular system maintenance, cautious browsing habits, and software updates are key to a secure computing environment.
By following this guide, you’ll gain hands-on experience in virus removal, equipping yourself to handle future threats effectively.